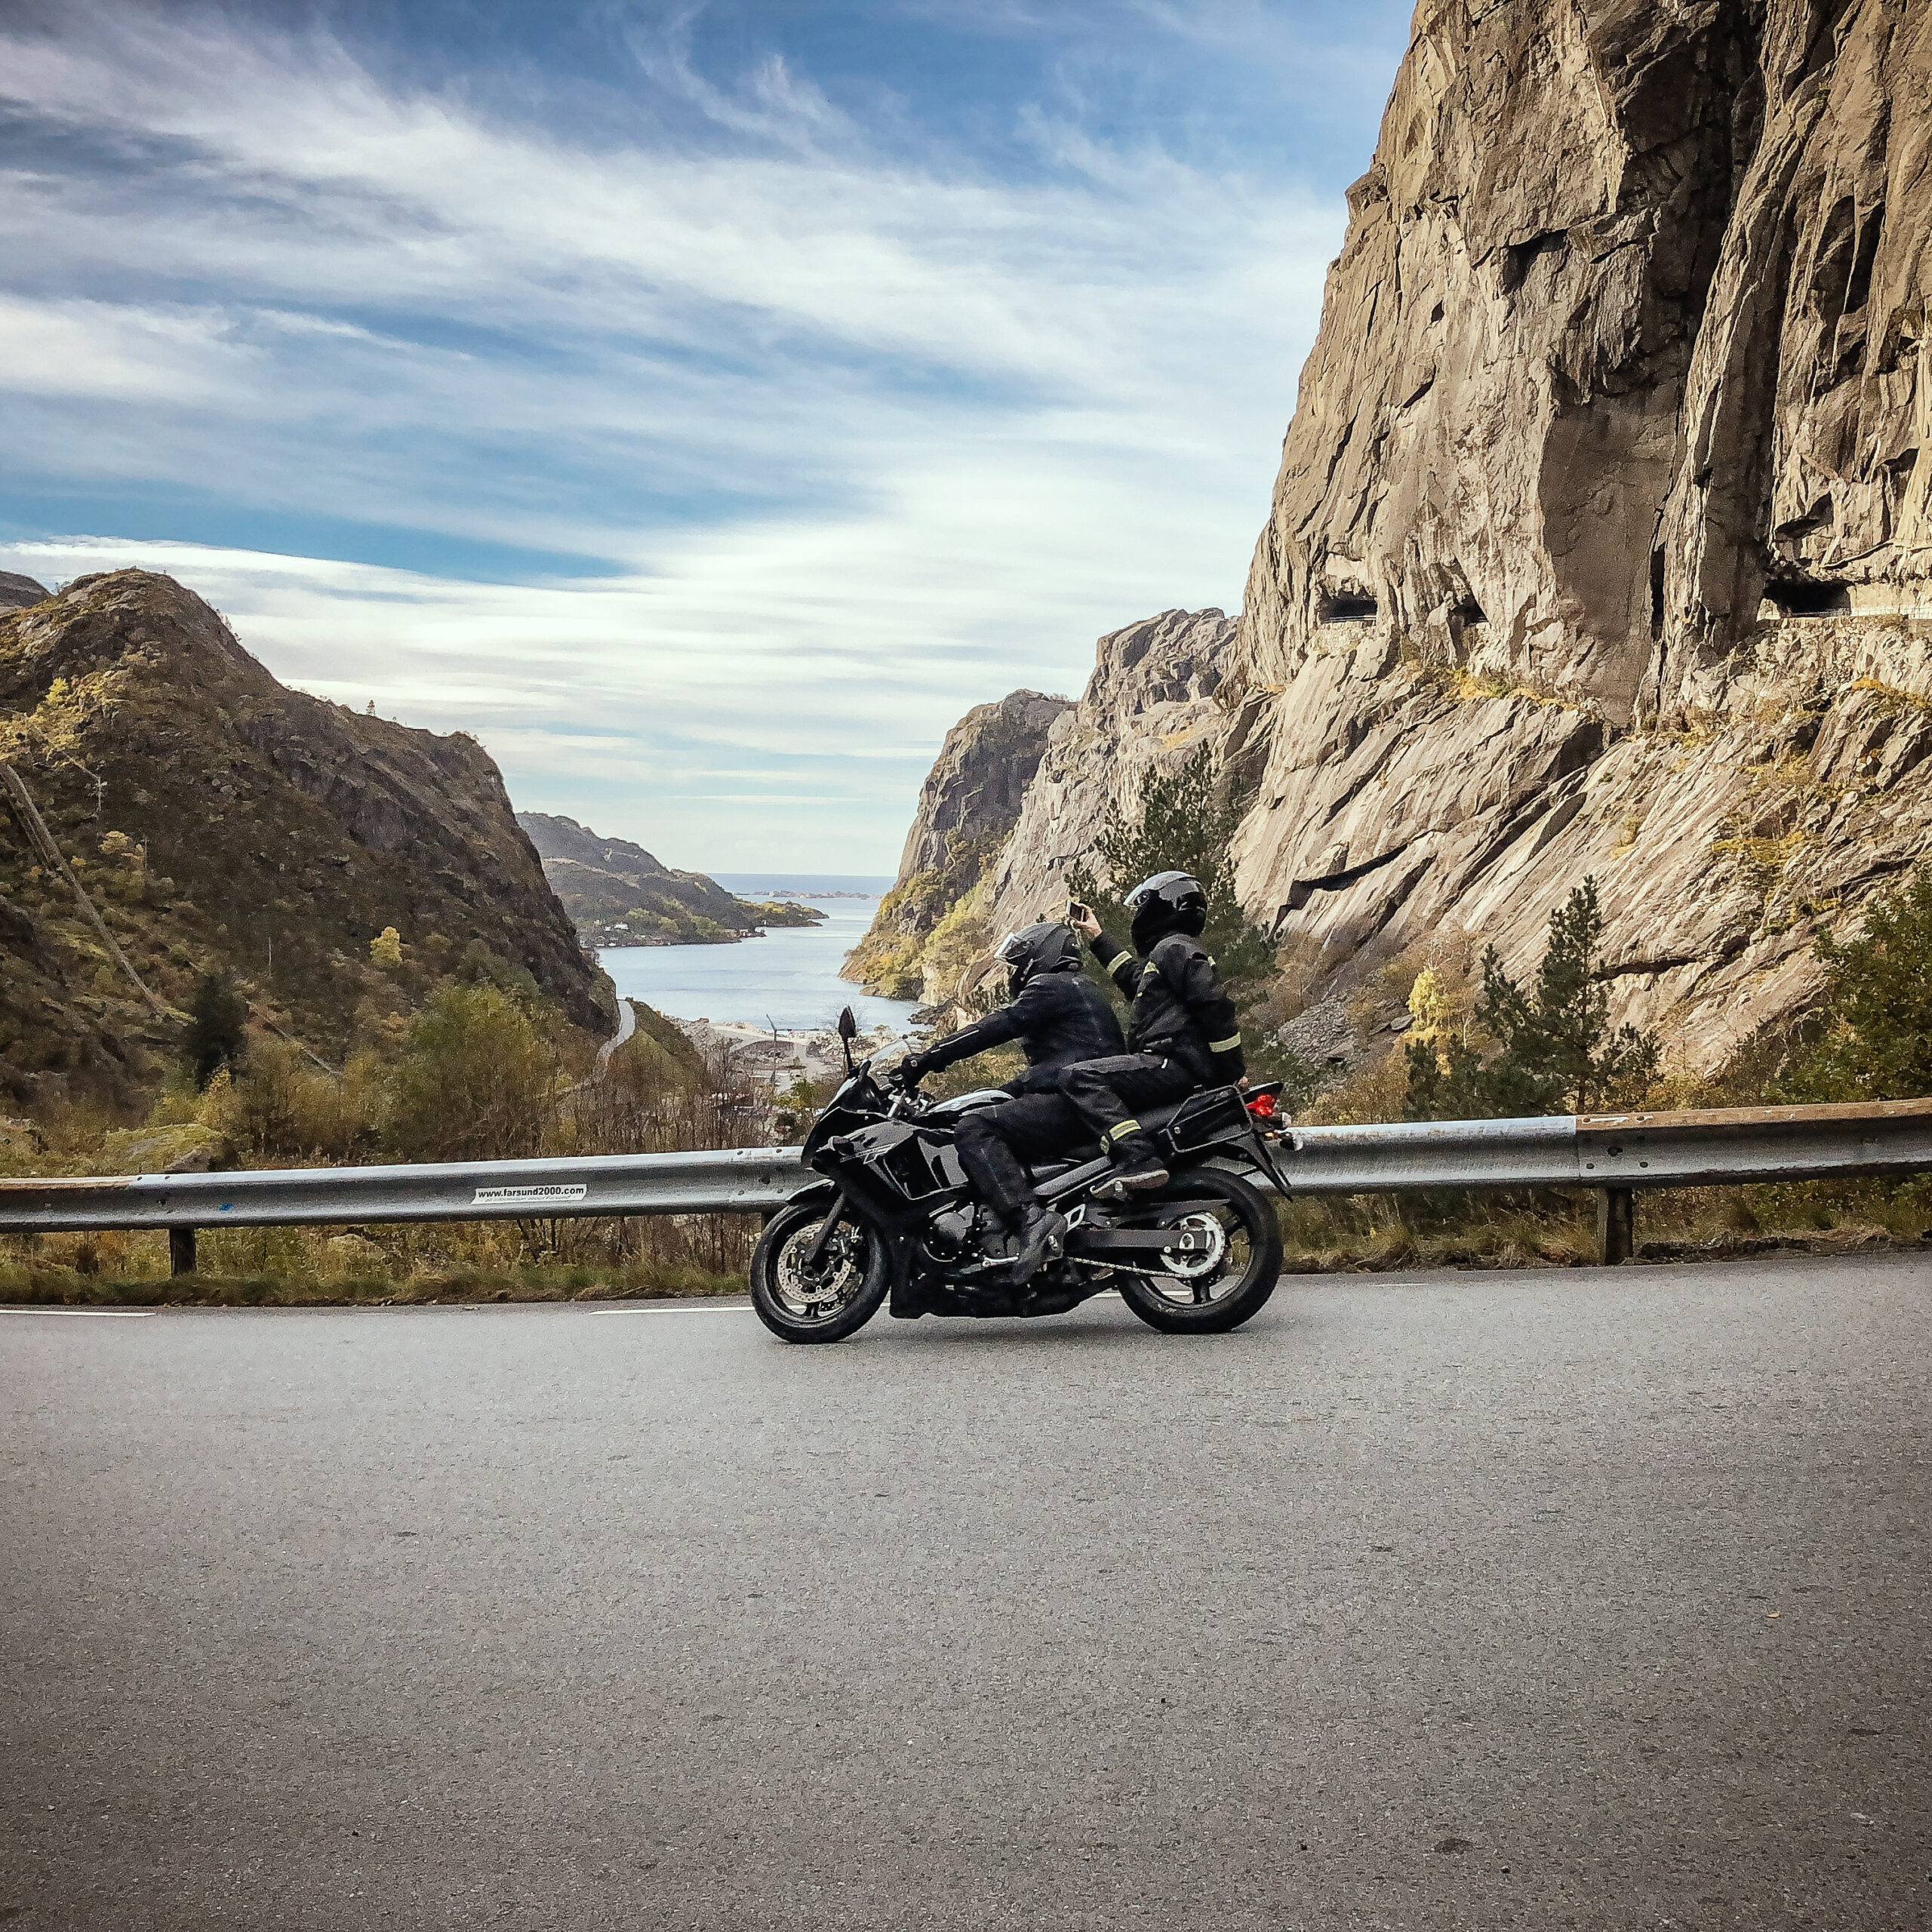
Route 2

Tronåsen

On this tour, we focus on Tronåsen. In its day, Tronåsen was every driver's horror. When the T-Fordes and buses of the time crawled up the bends, and even more so when they dropped down the hill, both passengers and the driver sat rather shaky and looked out over the steep landscape.

The route is defined as normal

Routes defined as normal are suitable for most people who have experience with somewhat demanding parties

Length
258 km

Popularity
6out of 10

Calculated automatically

A recurring question was whether the brakes would hold. Some drivers tied a wooden top to the car to slow down on the downhill slopes. Most cars were heavy and had small engines when the car age began. Many therefore had to reverse up the slopes as they had lower gears in reverse.

The engine often overheated and it was not uncommon for passengers to have to get out to push in the early days. The buses also had problems with the sharp turns. When they couldn't get around a turn, but had to reverse, stones were placed behind the wheels to secure the bus. Source: Visitsorlandet

The journey starts on the E39 south towards the small town of Moi with just under 2000 inhabitants. From Moi, there is only a small detour to Tronåsen for a trip on the route that was once the terror of all motorists due to its sharp bends. The route is only open between May 1 and October 1.

Then continue back along the E39 towards Hauge in Dalane and stop at Sogndalstrand Kulturhotell for a delicious lunch. Before you either take a detour on RV 44 towards Jøssingfjord or head straight towards Egersund.

Afterwards, the tour heads towards Ogna on the national tourist route Nordsjøvegen all the way to Borestranda for a quick dip on one of Europe's finest beaches. Before heading back to Sandnes for a well-deserved 3 courses with something good by the glass at either Gamlaværket Gjestegiveri or the venerable Kronen Gaard Hotell.

Support

How can I navigate the route?

This depends primarily on whether you have installed a GPS, navigate by App on your mobile phone or prefer paper printouts. Here we describe the most common workflows:

  • Download the GPX file for the route you want to your computer
  • Import the file to your route planning tool (e.g. Garmin's Basecamp or Tom Tom's MyDrive)
  • Export the route to your GPS in the usual way
  • Check that the route is calculated correctly in your GPS (It is recommended that the GPS is set to select the fastest route and any avoidance turned off for the route to be calculated as described).
  • Have a great trip!
  • Download the GPX file for the route you want to your mobile phone
  • Send/open the file in the App that belongs to your GPS model (e.g. Garmin's Drive or Tom Tom's MyDrive)
  • Send the route to your GPS (follow the instructions that come with your GPS and App)
  • Check that the route is calculated correctly in your GPS (It is recommended that the GPS is set to select the fastest route and any avoidance turned off for the route to be calculated as described).
  • Have a great trip!

Many of the routes on Hubriding use the app Ride with GPS app for route planning and navigation of the routes. You can download this as a free version or pay for extended use. Click on the Send to Device link on the map on this page, when the app has started and you see the current route, click Navigate and then just follow the route.

  • Click on the link in the map on the page and the map will open in a new window
  • Print the map, with or without description
  • Have a great trip!