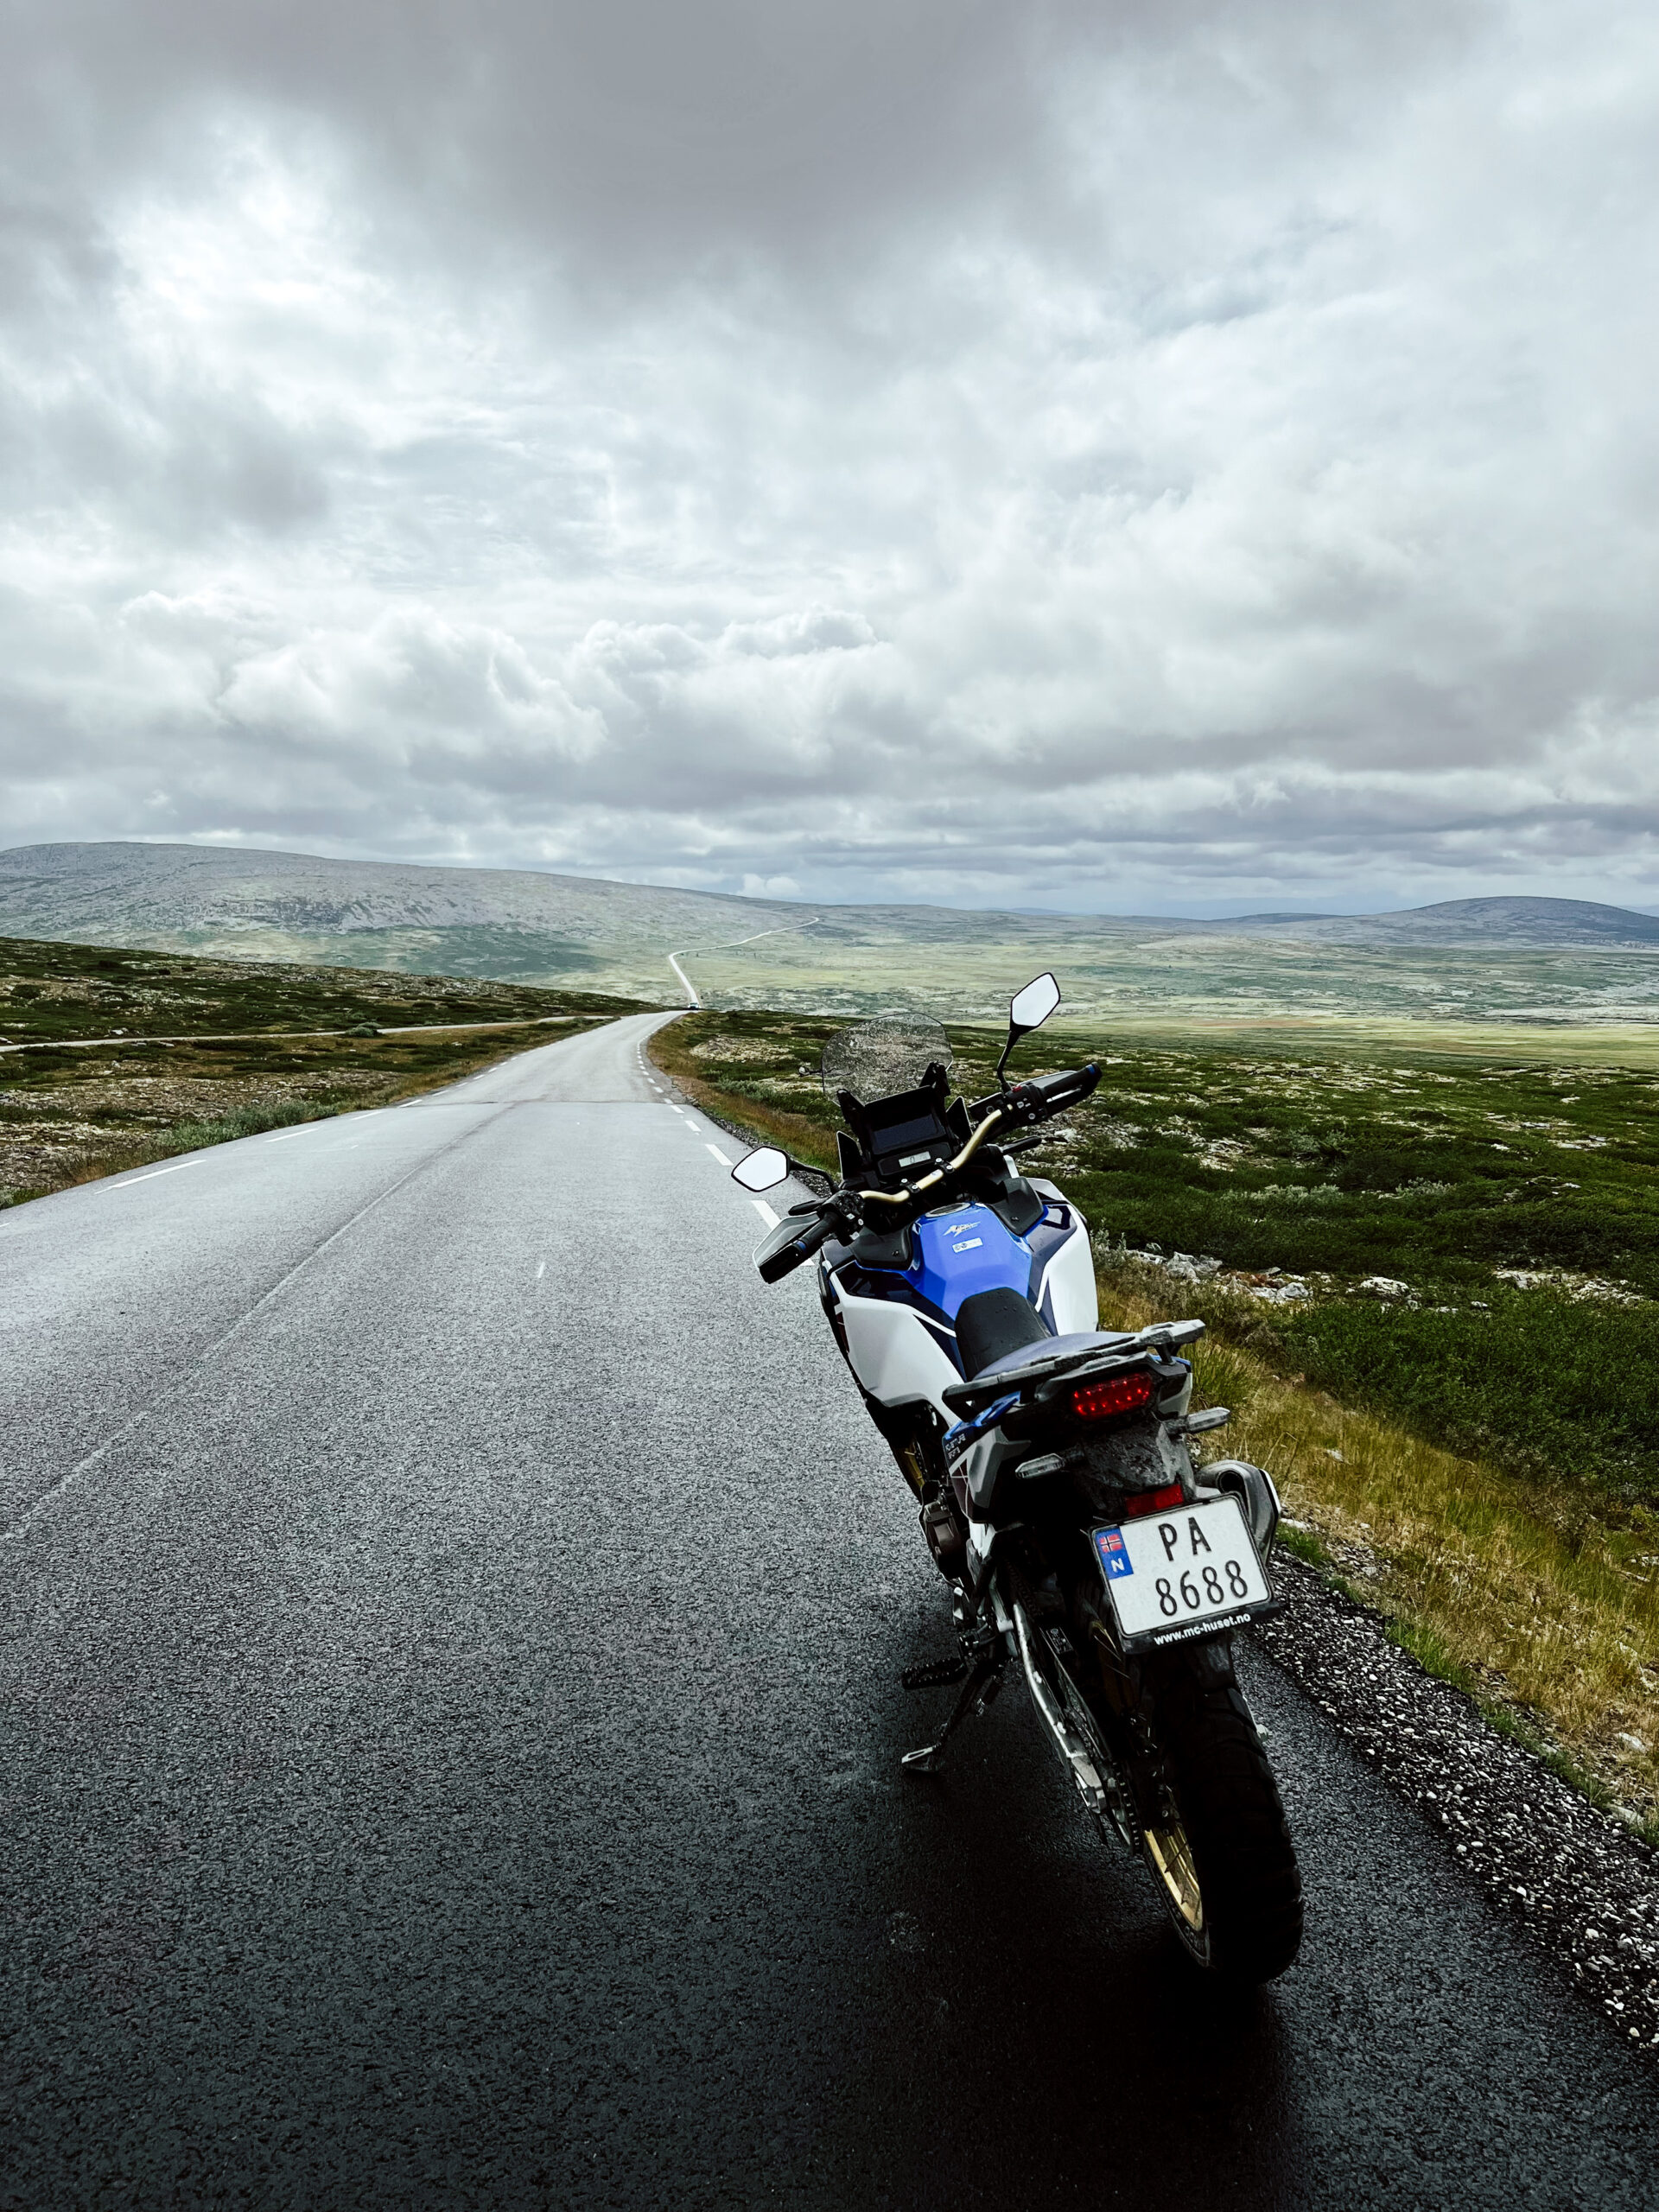
Route 2
Imsdalsrunden
The route is defined as demanding
Routes defined as demanding are suitable for people with experience in demanding batchesLength
195 km
Popularity
7out of 10
Route 2: Imsdalsrunden
It is recommended that GPS is set to select the fastest route and any avoidance turned off in order for the route to be calculated as described.
The road over to Østerdalen is on fine gravel roads and, with the exception of a few hundred meters north along Riksvei 3, you continue on gravel up Imsdalen.
Imsdalen is the valley between Østerdalen and Gudbrandsdalen and about 7km inland from Imsroa you pass the spring used in the production of Imsdal spring water. Northwards to Friisvegen you can enjoy 40km of gravel road. Then head west again towards Gudbrandsdalen. If you get hungry when you get out on Friisvegen, you can take a small detour eastwards about 6km to Skjerdingen. We also recommend lunch at Måsåplassen on the way down towards Ringebu.
Friisvegen is the highest mountain crossing between Østerdalen and Gudbrandsdalen (1,158 m above sea level at its highest point). Many people also opt for a short stop in the village of Ringebur and a visit to Annis Pølsemakeri and Hev.
The journey south goes past Ringebu Stave Church and Prestegård before heading into the mountains again. The last part of the hike back to Nermo is on a gravel road past several active mountain farms, some of which also offer refreshments.
Bommer
- Hornsjøvegen - Birkebeinervegen NOK 30,-
- Birkebeinervegen NOK 65,-
- Imsdalsvegen NOK 80,-
- Tann-Annolsetervegen NOK 60,-
Support
How can I navigate the route?
This depends primarily on whether you have installed a GPS, navigate by App on your mobile phone or prefer paper printouts. Here we describe the most common workflows:
- Download the GPX file for the route you want to your computer
- Import the file to your route planning tool (e.g. Garmin's Basecamp or Tom Tom's MyDrive)
- Export the route to your GPS in the usual way
- Check that the route is calculated correctly in your GPS (It is recommended that the GPS is set to select the fastest route and any avoidance turned off for the route to be calculated as described).
- Have a great trip!
- Download the GPX file for the route you want to your mobile phone
- Send/open the file in the App that belongs to your GPS model (e.g. Garmin's Drive or Tom Tom's MyDrive)
- Send the route to your GPS (follow the instructions that come with your GPS and App)
- Check that the route is calculated correctly in your GPS (It is recommended that the GPS is set to select the fastest route and any avoidance turned off for the route to be calculated as described).
- Have a great trip!
Many of the routes on Hubriding use the app Ride with GPS app for route planning and navigation of the routes. You can download this as a free version or pay for extended use. Click on the Send to Device link on the map on this page, when the app has started and you see the current route, click Navigate and then just follow the route.
- Click on the link in the map on the page and the map will open in a new window
- Print the map, with or without description
- Have a great trip!